Showing posts with label Sewing Fun. Show all posts

Preschool At Home: Button Turkey


After seeing these on several  blogs, 
inspired by the original, ADORABLE button turkey
for her classroom... I just had to make one.


In fact, 
I actually made three!


Stayed up till the wee hours 
sewing 3 of these little button turkeys
last week. 


One for my daughter.
One for her preschool teacher.
One for my niece. 


Felt, 
buttons, 
and embroidery thread.


I love cute crafts that are educational and fun
and practically free when you have all of the supplies on hand!


Gobble, Gobble, Gobble! 


Fondly,
pink and green mama,


Homemade Christmas Tree Advent Quilt


I've been wanting to make a wall-hanging
Advent Quilt like this for a few years now.
I've seen similar ones at places like Pottery Barn
and various stores over the years. 


I finished it on the third day of December 
but we can catch up, right?! 


I wanted it to be colorful,
whimsical,
and handmade. 


Something that would be fun to make
and that the girls would be able to
enjoy and create memories with for years to come.


I had the felt and buttons in my stash.
The turquoise fabric (1/2 yard) and one package of 
red quilter's binding/bias tape are goodies I picked up at Walmart.


The backing was made from a funny little 
green polar fleece baby blanket that was
taking up space and not being used by anyone in our house
but the cats lurking in our linen closet!


I used a combination of machine stitching
and hand stitching with embroidery thread --
mostly just to get'er done
more than for an aesthetic reason!


Note: Learn from my mistake:


I learned that if you use
fabric glue to attach the numbers and little outside 
felt squares to the bigger felt square pockets --
DON'T pin them right away with your 
straight pins to the quilt. 


I glued my pins inside each pocket and 
had to use pliers (and my hubby's brute strength)
to remove several of the pins!!


I actually had this little dowel rod and finials
in my crazy art supply stash.
I painted them with acrylic craft paint. 


Each pocket contains a little miniature 
ornament to hang on the tree's buttons
with a gold star pin on the 25th to top the tree. 


Happy Homemade Holidays!


Fondly,
pink and green mama,


Homemade Christmas: Felt Food Cookie Jar


My sweet little niece is getting her

first play kitchen this Christmas. 


Aunt MaryLea is hooking her up with some
homemade felt food. 


I found this cute little plastic jar at the Dollar Tree
and thought it would make a perfect little cookie jar.


I made little felt cookies
to go inside her jar.


Perfect for little tea parties
and very low calorie!


I traced little felt circles and stitched them
together by hand with some embroidery thread
and a bit of fluff, stuffing inside.


For the OREO cookies I just stacked up three white felt
circles inside two chocolate brown circles and stitched 
through all of the layers with dark brown floss.


I'm also making some fruit (strawberries and watermelon)

and veggies (peas, tomatoes, broccoli).


We'll see what else I come up with before Christmas,
it has been a fun little sewing project during evening
TV time....of course I'm making doubles of everything
because my own girls ask for everything 
they see me making for their cousin! 


Happy Homemade Gift-Making!


Fondly,
pink and green mama,


Homemade Christmas: Felt Bad Guys Set!


Who is that masked bandit wearing Moose Pajamas?


Role play is a huge part of our day around here.
Especially on the weekends. 
Props like Masks, Wands, and Silk Scarf Capes
play a big role in that.


I apologize for the fact that you pretty much only see my kids
wearing Pajamas in all of my posts!
My kids live in their PJs at home
(we really do get dressed when we go out in public....
most of the time -- 
maybe it's because their mom lives in Jeans and Slippers) 


I've had this little project 

bouncing around in my head

for the past year and I finally made it last weekend.

And no...I couldn't save it for Christmas but it

WOULD make a fantastic Homemade Christmas Gift!


For the "Sack" I cut down an old

pillow case and made it not quite as deep

(It was a King Sized Pillow case and

little arms would have had a hard time with it)


Now, I have to admit I thought I was being clever

by re-purposing materials we already had

(using the pillow case) BUT....

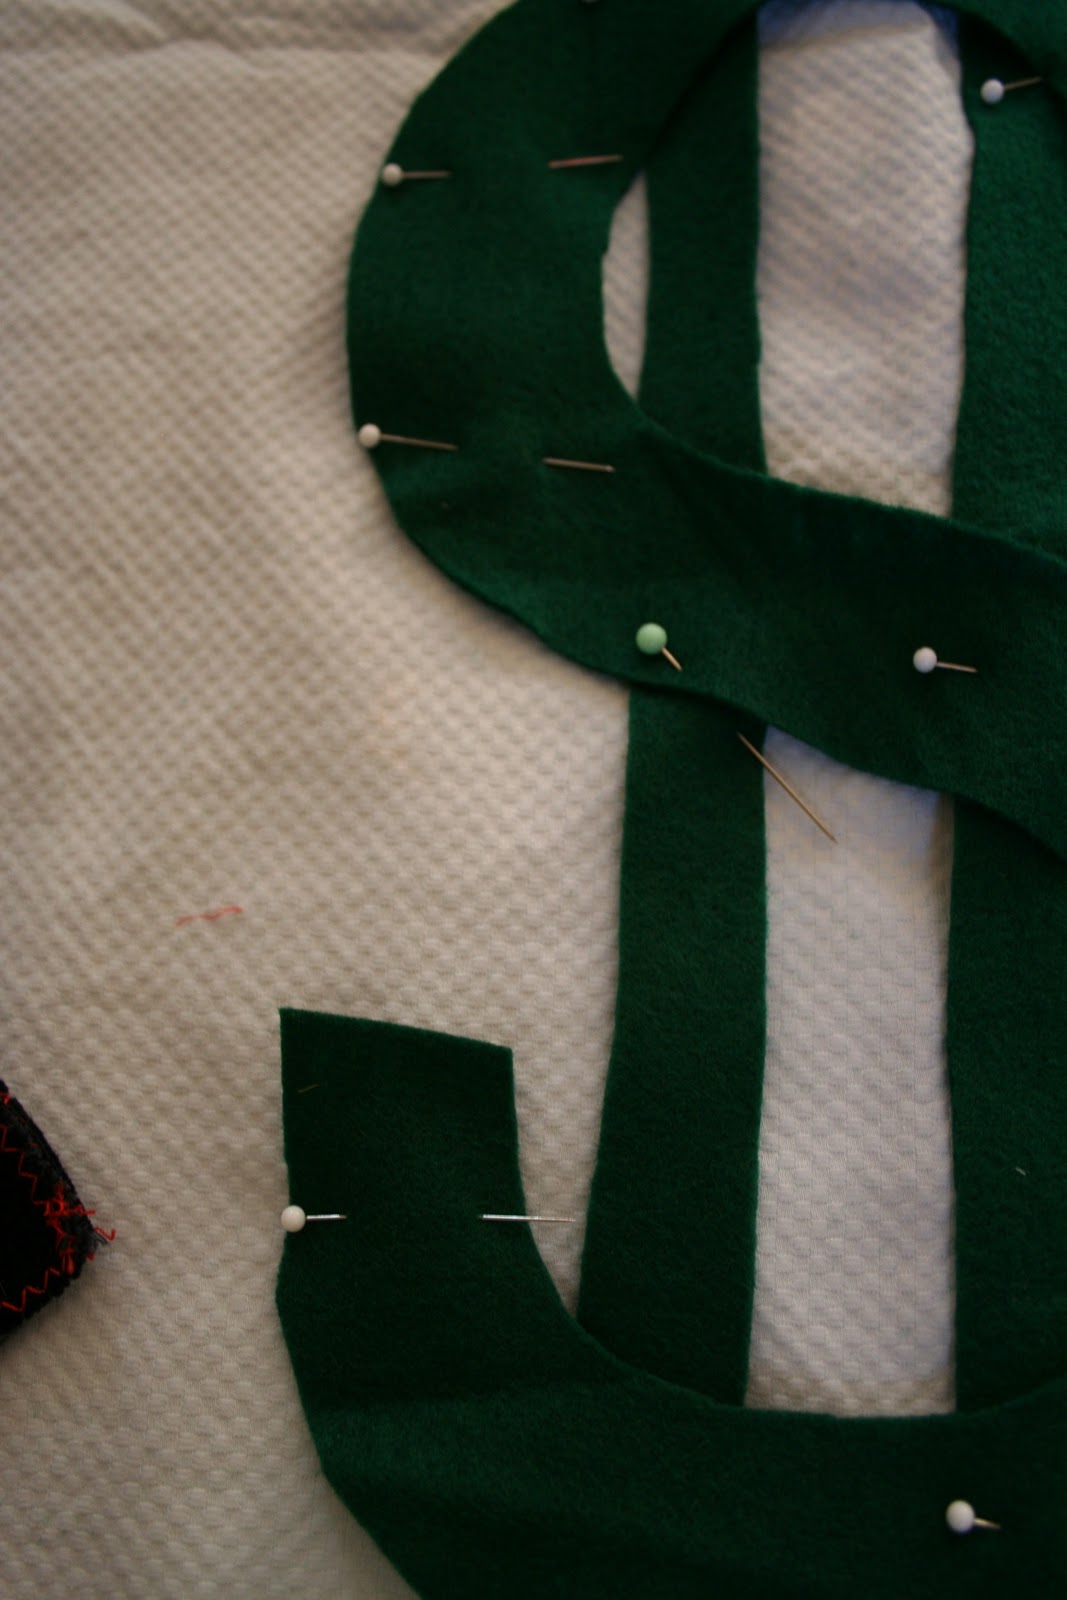
sewing the Felt "Dollar Sign" to the pillowcase

was a giant pain in the butt

because I was trying to manipulate the whole pillowcase

through my sewing machine (ugh!)


Using a flat piece of fabric to sew the felt to first

would have been MUCH easier.


I also should have stitched down the two straight lines

of the "Dollar Sign" first then the "S" shape.

I did it in a different order and it doesn't look great up close.

(However, my kids don't seem to care.)


Pinning the "Dollar Sign" in place.


I made up my own pattern by tracing

an existing play mask from our Dress-Up Box

onto two pieces of Green Felt.

Then, I stitched it all up with a piece of elastic

sandwiched in-between as the strap.


Then, I carefully cut out the eye holes with my

sharp sewing scissors.


The finished Mask. 
We might need some more in other colors!


Of course we needed some Gems and Jewels
for our Theif(s) so we raided our gold rocks
(gravel I spray painted Gold) 
stash from "C"s Pirates and Mermaids Party
and some of our Dollar Tree Glass Stones 
and Michael's Plastic Jewels. 


Hey! Get that bad guy!


Happy Homemade Gift-Making!


Fondly,
pink and green mama,


Homemade Christmas: Toy Kitty Cat Carrier


My little 3.5 year-old "C" is OBSESSED with Kitty Cats.
She has quite a collection of stuffed kitty friends.


They all have names and distinct personalities.
She even has a "real" (pink) kitty bed upstairs in her room
that I let her buy on sale (with a coupon!) 
at the pet store earlier this year.


It's a really easy way to corral all of her plush feline friends.


She also loves carrying them around the house
but that usually means that mommy has to transport
6-8 kitties up and down the stairs several times a day.


I decided she needed a little cat carrier to keep
her furry friends contained and portable. 


My solution after looking at several 
overpriced and ugly "real" carriers
was to make my own with stuff I already had in the house!


I used plastic needlepointing mesh material,
I don't know what this stuff is actually called!


I used one "Whole" Sheet of Plastic Mesh (far left above) as the topper
(10 1/4" by 13 1/2"),
One Rectangle as the Bottom (approx. 6" x10")
One skinny Rectangle as the Handle (7 1/2"x 2")
and Two Curved Semi-Circle Pieces 
as the Back of the carrier and  Front Door (approx. 6 1/2" wide by 6" tall). 


I'm sorry about the wacky dimensions, this was one of those
make-it-up-as-I-go projects so I was just
cutting stuff out and using scraps I had to make it work, 
(I really didn't want to go to the store!)


Same with how I sewed it together...
I just started stitching pieces together while sitting on the couch!


I did the little front door last. 


Stitching away with pink yarn and a big
embroidery needle. 


Side view of the cat carrier
(also known as a mesh mail box with a handle)


View of the front of the carrier.


Pink elastic Ponytail holder stitched to the door
to be the "clasp" for the door. 


"Samantha" cat and "Strawberry" cat check out their new digs!


How many kitties can this thing hold?


Such a happy Cat Mama, she even brought 
her cat carrier to school for Show and Tell!


Happy Crafting!


Fondly,
pink and green mama,